When you make a GW Law classroom recording request, you may not have included who to make it available to. When there is a student need for the recording, please email the following information to the Media Center:
This is only necessary if you did not choose "release all" for your recording release preference.
Up to 2 hours after you end the Zoom meeting/recording, you will receive a notification email from Zoom stating that “Meeting Assets for *name of Zoom meeting* are ready!”
Please forward the entire email to the Media Center at media@law.gwu.edu and state that you would like it made available to the entire class, or to certain individuals. Please provide @law email address(es) if the recording is just for certain individuals.
Please include the entire course number and section number (e.g. 9999-10 Web Portal Law) when making requests from us, if not already in the Zoom title.
We request the Zoom notification email because of the necessary details it provides (meeting "topic"/name, date, and time). These details help us efficiently find the correct recording on our Media Server. We do not require the recording link or passcode.
NOTE:
The Zoom emails state that the cloud recording will delete in 4 days; this means they will delete from your personal @law Zoom account storage in 4 days. This limit cannot be changed for any reason.
@law Zoom cloud recordings are automatically uploaded to our Media Server and saved there. Zoom recordings on our Media Server are not accessible to anyone outside of the Media Center employees, regardless of class recording/release preference, unless the request above comes into media@law.gwu.edu.
Thus, if the class was held via Zoom, the professor must inform us via email to make it accessible to the class, even if it is a release all class. Zoom recordings do not have an automatic release mechanism like traditional automated classroom recordings.
Choose the location you want to embed the media (Announcement, Module, etc.)
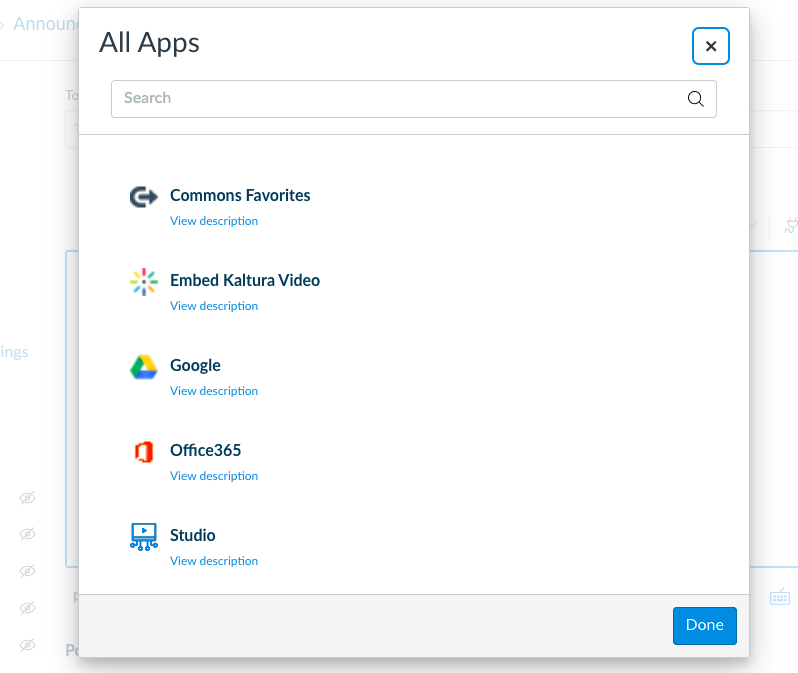
In the Rich Text Editor, click the plug icon and then click View All.
Select Embed Kaltura Video.
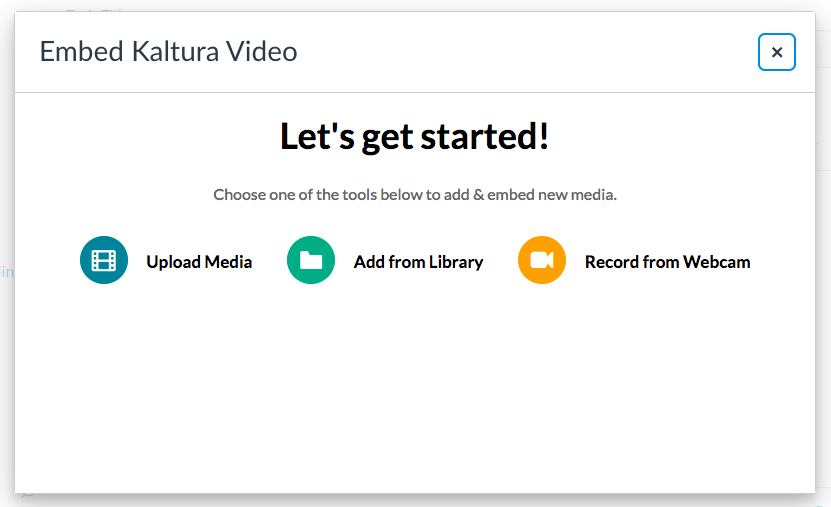
Then click Add From Library.
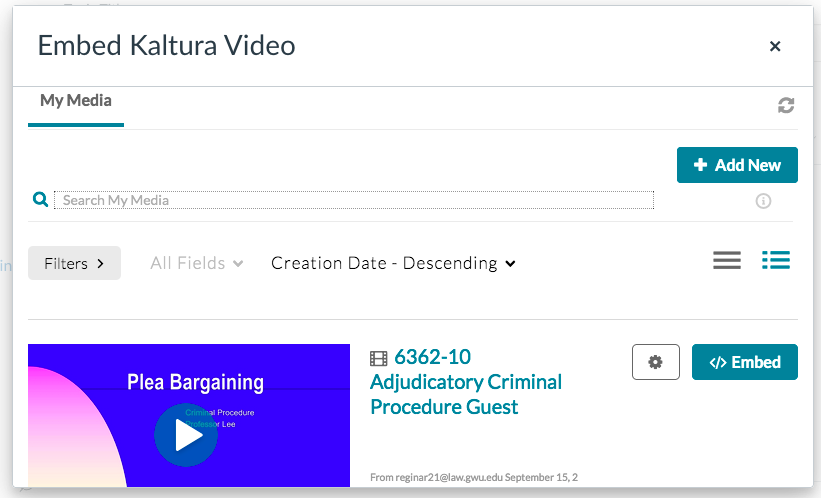
Now, find the desired recording and click the green Embed button.
The video will be embedded in the page. Lastly, click Publish at the bottom of the Rich Text Editor box.
Please contact oit@law.gwu.edu for any assistance with this Canvas process.
Choose the location you want to embed the media (Announcement, Module, etc.)
In the Rich Text Editor, click the plug icon and then click View All.
Select Embed Kaltura Video.
Then click Upload Media.
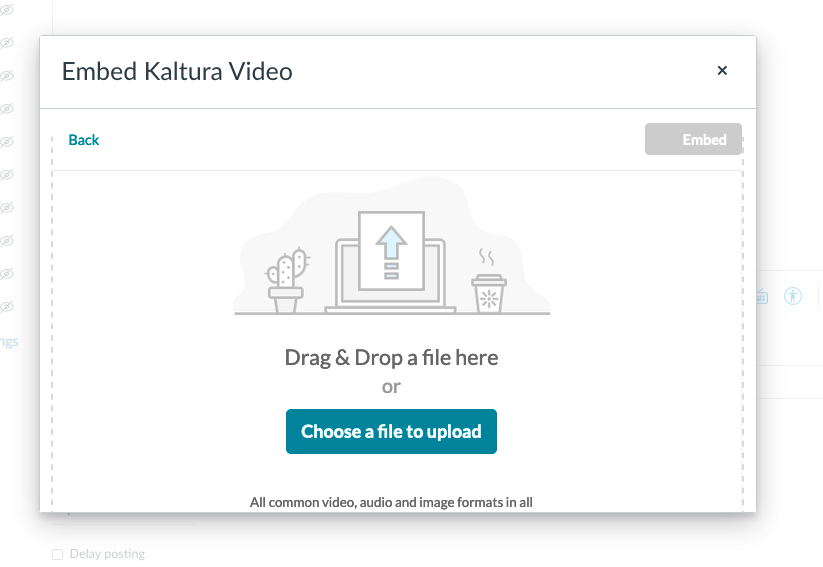
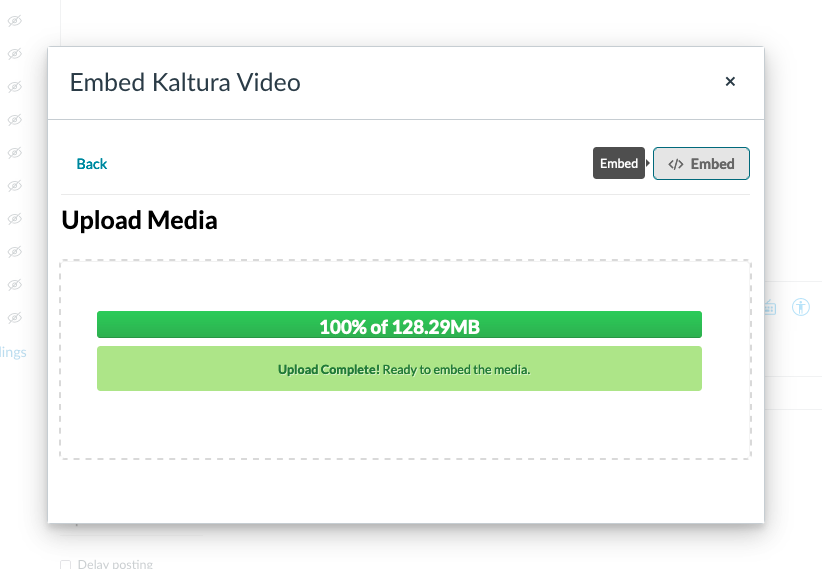
Now, upload the desired recording from your computer.
Then, click the green Embed button.
The video will be embedded in the page. Lastly, click Publish at the bottom of the Rich Text Editor box.