To create a scheduled GW Law room recording, you must email the Media Center at media@law.gwu.edu with as much notice as possible (ideally, one day) with the following information:
If your recording release policy is not release all, please also provide the names and @law email addresses of who should get access to the recording, or simply say it's for the entire class.
If you chose a record all policy, all of your official Records Office schedule of classes class meetings are automatically set to record. If you have review sessions, make up classes, or any deviations from the Records Office schedule, you must inform us and request that we record it by providing the information above.
A synchronous Zoom recording would mean a session held with the students attending over Zoom. In this case, schedule the Zoom within the Canvas integration.
1. Schedule the Zoom on Canvas: How to Schedule a Zoom on Canvas
2. Start your Zoom meeting
3. Verify that it is recording by looking for the recording… alert in the top left corner of the Zoom screen.
3a. If not recording, make sure to click the Record button in the bottom tool bar.
4. Begin the lecture.
4a. Share screen on Zoom if you have slides or other content to present and capture on the recording.
5. End the Zoom meeting once finished.
See the Sharing Recordings section for next steps.
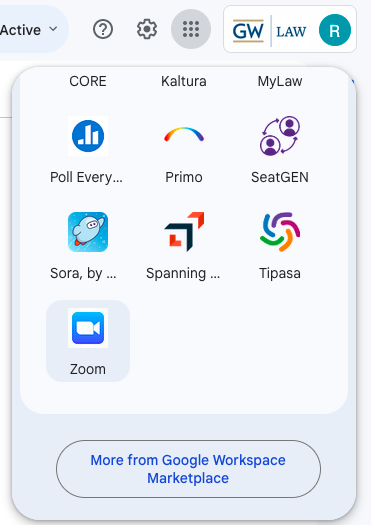
An asynchronous Zoom recording would mean a recording you attend and create by yourself in order to share with students later. In this case, schedule the Zoom within your Zoom account through the 9 dot menu.
4. Schedule your Zoom meeting. Please include the course number and section number (e.g. 9999-10 Web Portal Law) in the title of the Zoom.
5. Start your Zoom meeting
6. Verify that it is recording by looking for the recording… alert in the top left corner of the Zoom screen.
6a.If not recording, make sure to click the Record button in the bottom tool bar.
7. Begin the lecture.
7a. Share screen on Zoom if you have slides or other content to present and capture on the recording.
8. End the Zoom meeting once finished.
See the Sharing Recordings section for next steps.
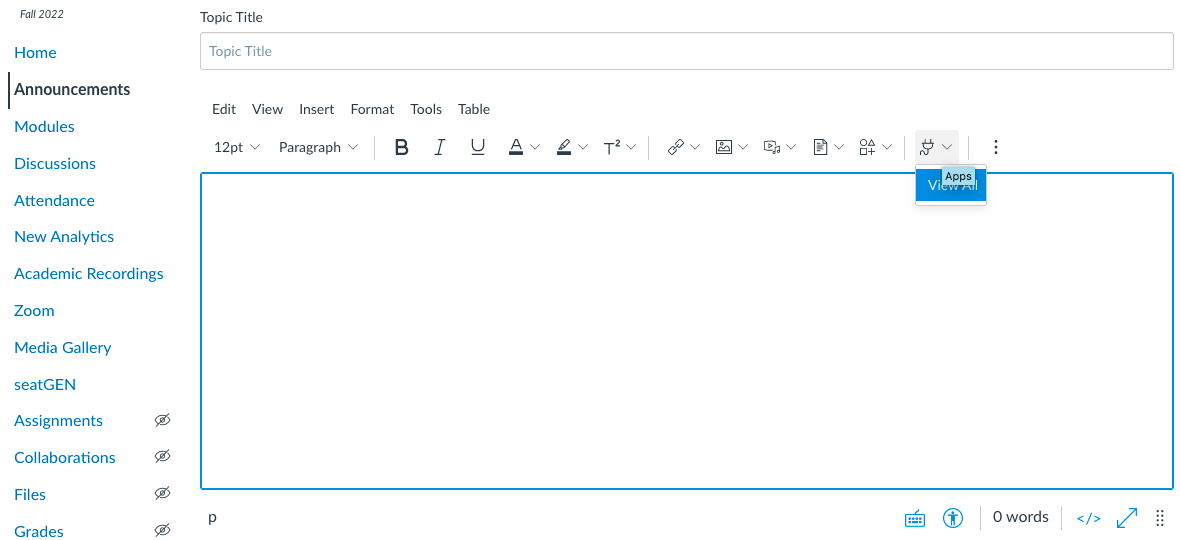
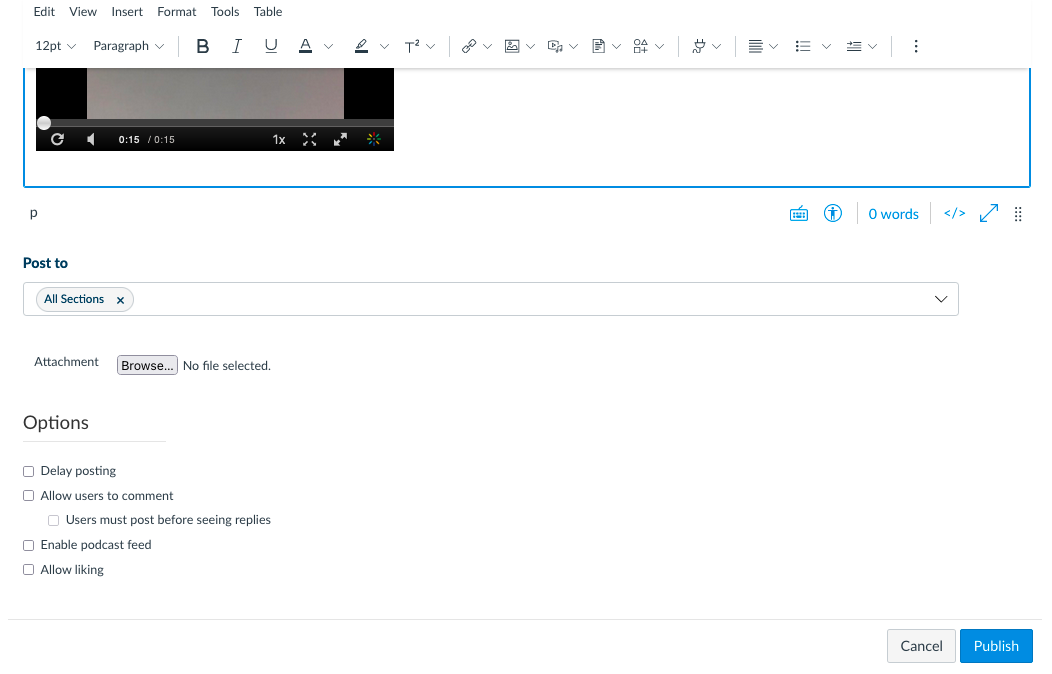
1. Choose the location you want to embed the media (Announcement, Module, etc.)
2. In the Rich Text Editor, click the plug icon and then click View All.
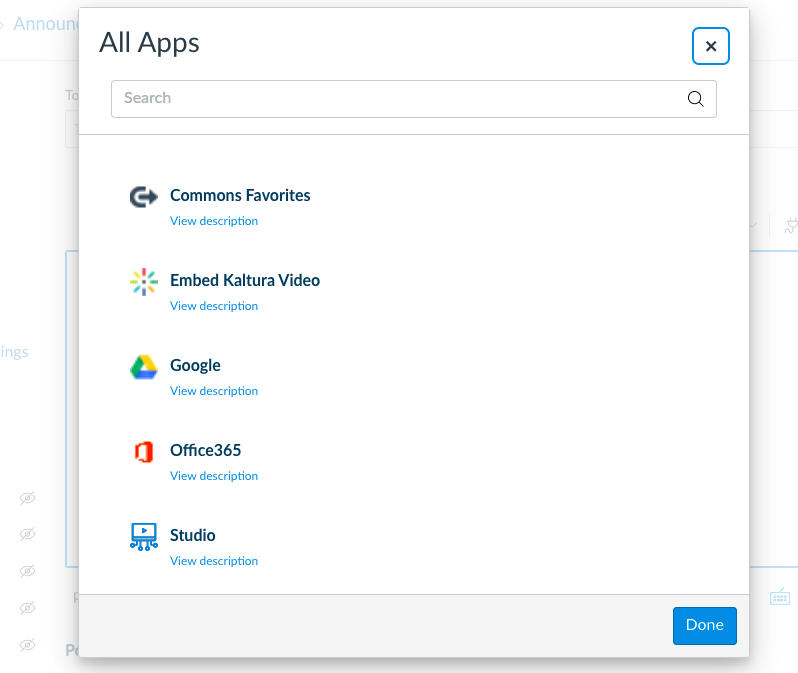
3. Select Embed Kaltura Video.
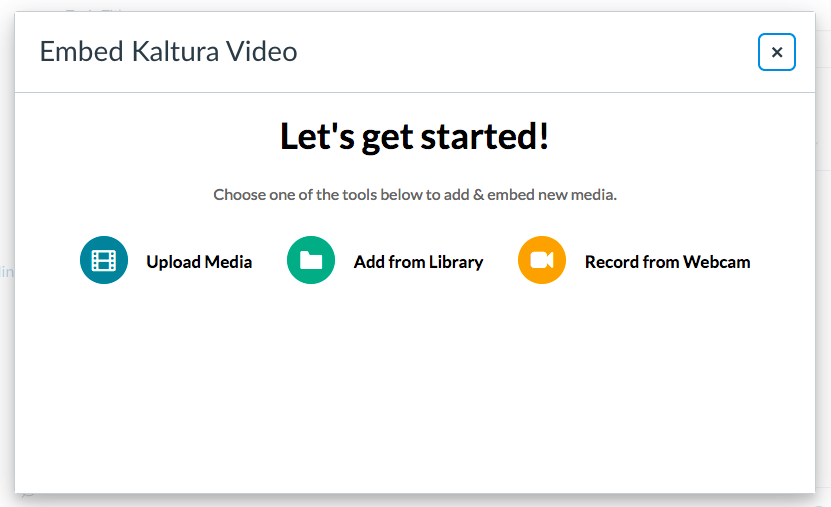
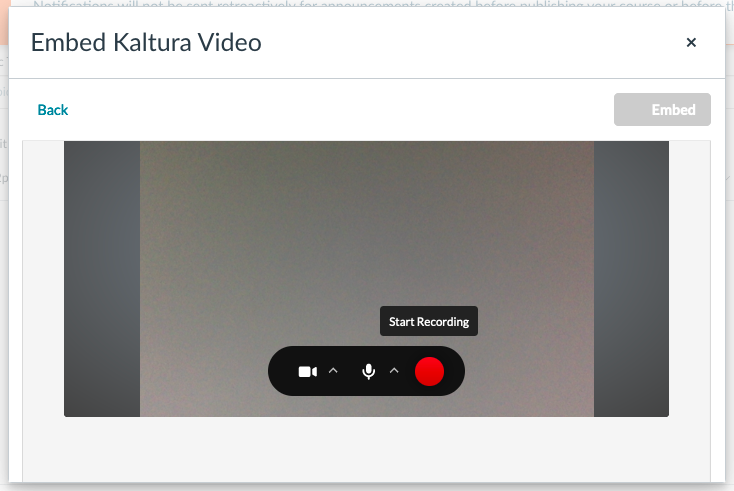
4. Then click Record from Webcam.
5. Allow access to your microphone and webcam if prompted.
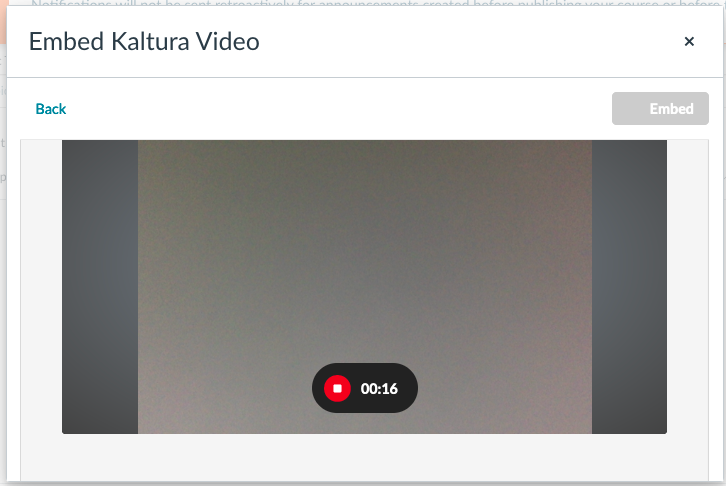
6. Click the red record button to begin recording.
7. Click the stop recording button when you’ve finished recording your content.
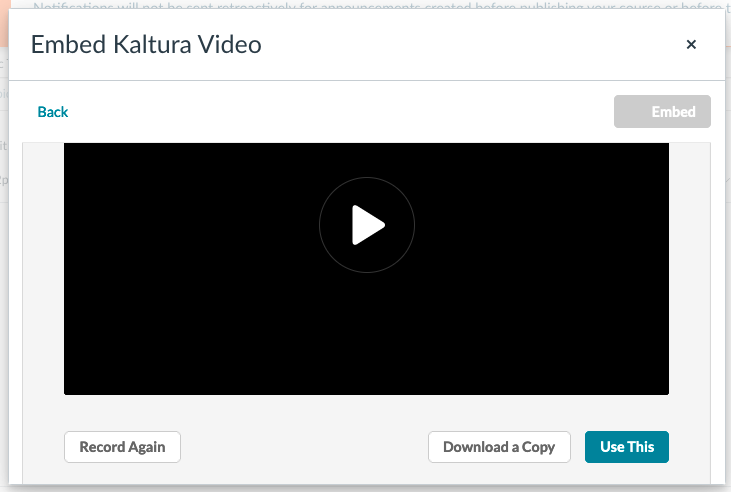
8. Replay the recording if needed, and then click Use This.
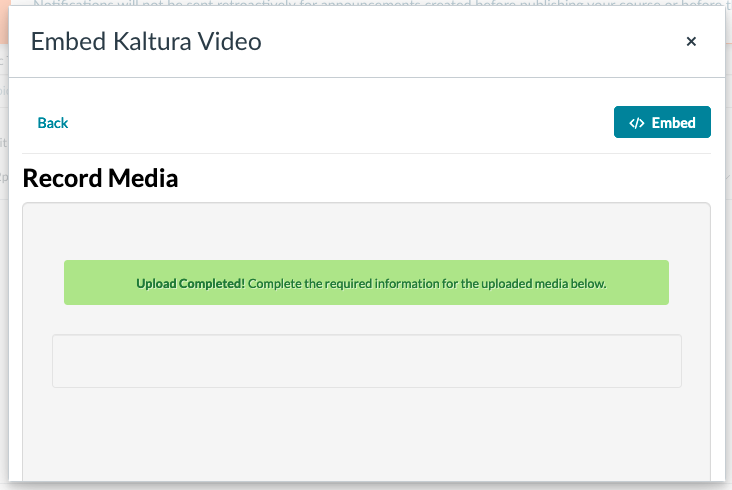
9. Then click the Embed button.
10. Then, back in the Rich Text Editor, wait for the recording to process and then click Publish (or Save).